With the resource feature the availibility or scheduling of meeting rooms, beamers, cars or other objects with limited availability in the company is made easy. Resources are allocated through meeting requests.
The following steps show how to allocate a resource:
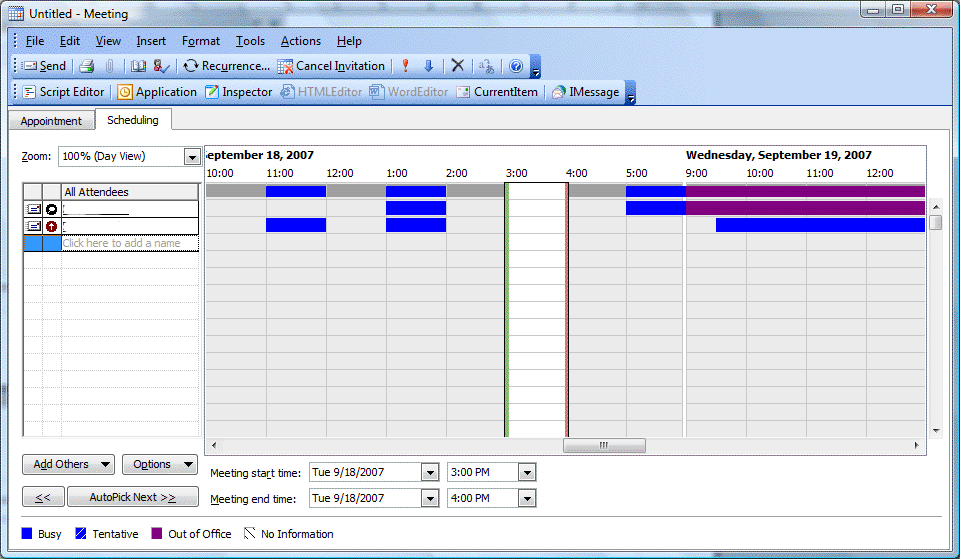
Create a new appointment in Outlook.
Open the Scheduling tab.
Add the name of the resource or select the resource from the Global Address book.
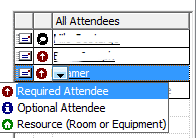
Change the icon Required attendee to Resource or Equipment.
Add the other attendees, that will attend the meeting.
Select a free timeslot via the freebusy times and send the meeting to the attendees.
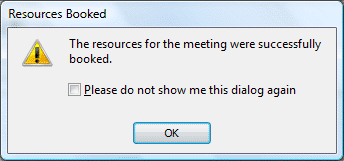
If the resource is available in this timeslot, a pop-up will show that the resource is successfully booked.
If the resource is unavailable, a different (free) timeslot needs to be selected.
When an all day event is planned, please make sure the appointment is booked as Busy or Out of Office. By default, all day events are set as free and because of that not visible in the freebusy information.