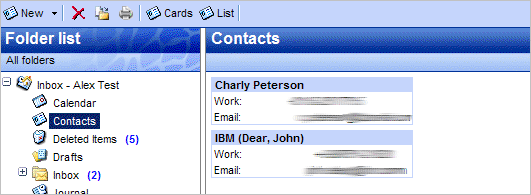
The Contacts folder has multiple views: card view and list view. Switching between views is done with the buttons on the tool bar.
Emails can be send directly to contacts by the right mouse button context menu option Email Message.
The letters at right side of the contact view allow users to quicky move through the contact list.
Kuva 2.45. Contacts
2.9.1. Create new contact
A new contact is created with the New button in the tool bar, when the viewing the Contacts folder.
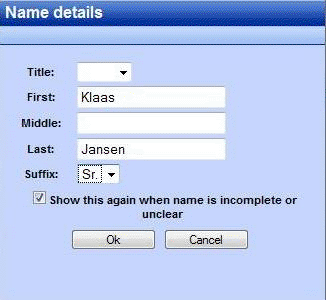
The New Contact dialog is then shown allowing a user to fill in all the information about a contact before it is saved with the Save button.
With the option Private, in lower right corner of the New Contact dialog, the contact can be hidden from colleagues that have access to that Contacts folder.
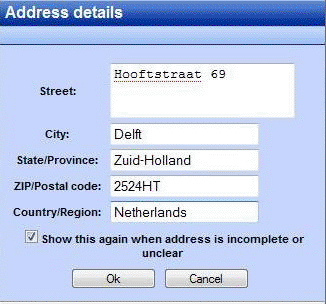
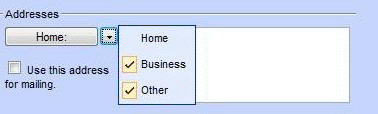
There are three types of address fields (Home, Business and Other). The drop down menu shown in Kuva 2.50, ”Cascade menu to choose the address type” is used to change between these addresses. In this menu, ticks are shown besides the address types indicating which addresses have been entered already.
Kuva 2.50. Cascade menu to choose the address type
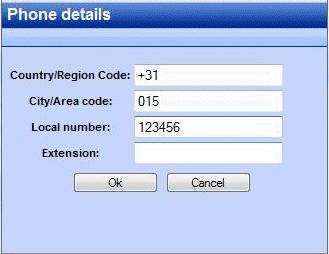
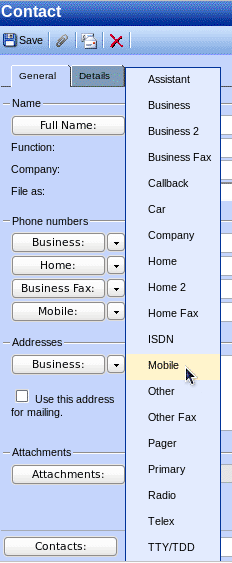
Different types of Phone Number fields are available in the Zarafa WebAccess. To change the Phone Number type use menu shown in Kuva 2.51, ”Cascade menu to choose the phone type”. In this menu, ticks are shown besides the address types indicating which phone number types have been entered already.